Take a position: start your defect-detection project with the end-state camera and compute constraints, not the perfect lab dataset. If your model performs in tests but collapses under fluorescent lights and conveyor vibration, you made one of the five mistakes below.
Mistake 1 — Designing around the lab camera instead of the production sensor
Team builds a model on a high-res industrial camera or cellphone video in a quiet lab, then ships a lower-grade sensor into production. Result: mismatch in resolution, rolling shutter artifacts, dynamic range failures under fluorescent or LED flicker.
Practical fixes
- Pick the production camera and lens first. Name vendors: Cognex for robust industrial cameras or equivalent GigE/USB3 models. Purchase a sample and run 1–2 days of raw captures on the line before training. You’ll catch exposure, motion blur, and compression issues early.
- Decide on shutter: global shutter for fast moving parts; rolling shutter will introduce skew and make small defect features vanish.
- Measure lighting and dynamic range with real sensors; lab lighting rarely matches fluorescent/LED on the floor.
Metric to measure: capture the same defect with both lab and production camera; if IoU drops >20% you must retrain on production images. The pick-path project we shipped showed a 45% fulfillment-time improvement only after we swapped to the production-grade cameras and fixed exposure — lab-only models missed 42% of the motion blur cases.
Mistake 2 — Ignoring lighting and optics (the invisible hardware problem)
Lighting kills models faster than bad labels. Fluorescent strobe, welding arcs, or dusty lenses change pixel distributions in ways augmentation can't always mimic.
Concrete countermeasures
- Treat lighting as part of the sensor system: add polarizing filters, band-pass filters, and controlled strobes if feasible. Use high-CRI LEDs where color fidelity matters.
- Lock exposure and white balance in camera firmware where possible. Auto-exposure introduces frame-to-frame variance that breakers out edge thresholds.
- Instrument the line: install light meters and log lux/temperature. If variance >30% across shifts, you need normalized capture (strobe/timed capture) or per-condition models.
Tooling: Cognex cameras plus industrial lighting suppliers. If you can justify it, fixed strobed capture will reduce false positives by an order of magnitude on thin-scratch and gloss-change defects.
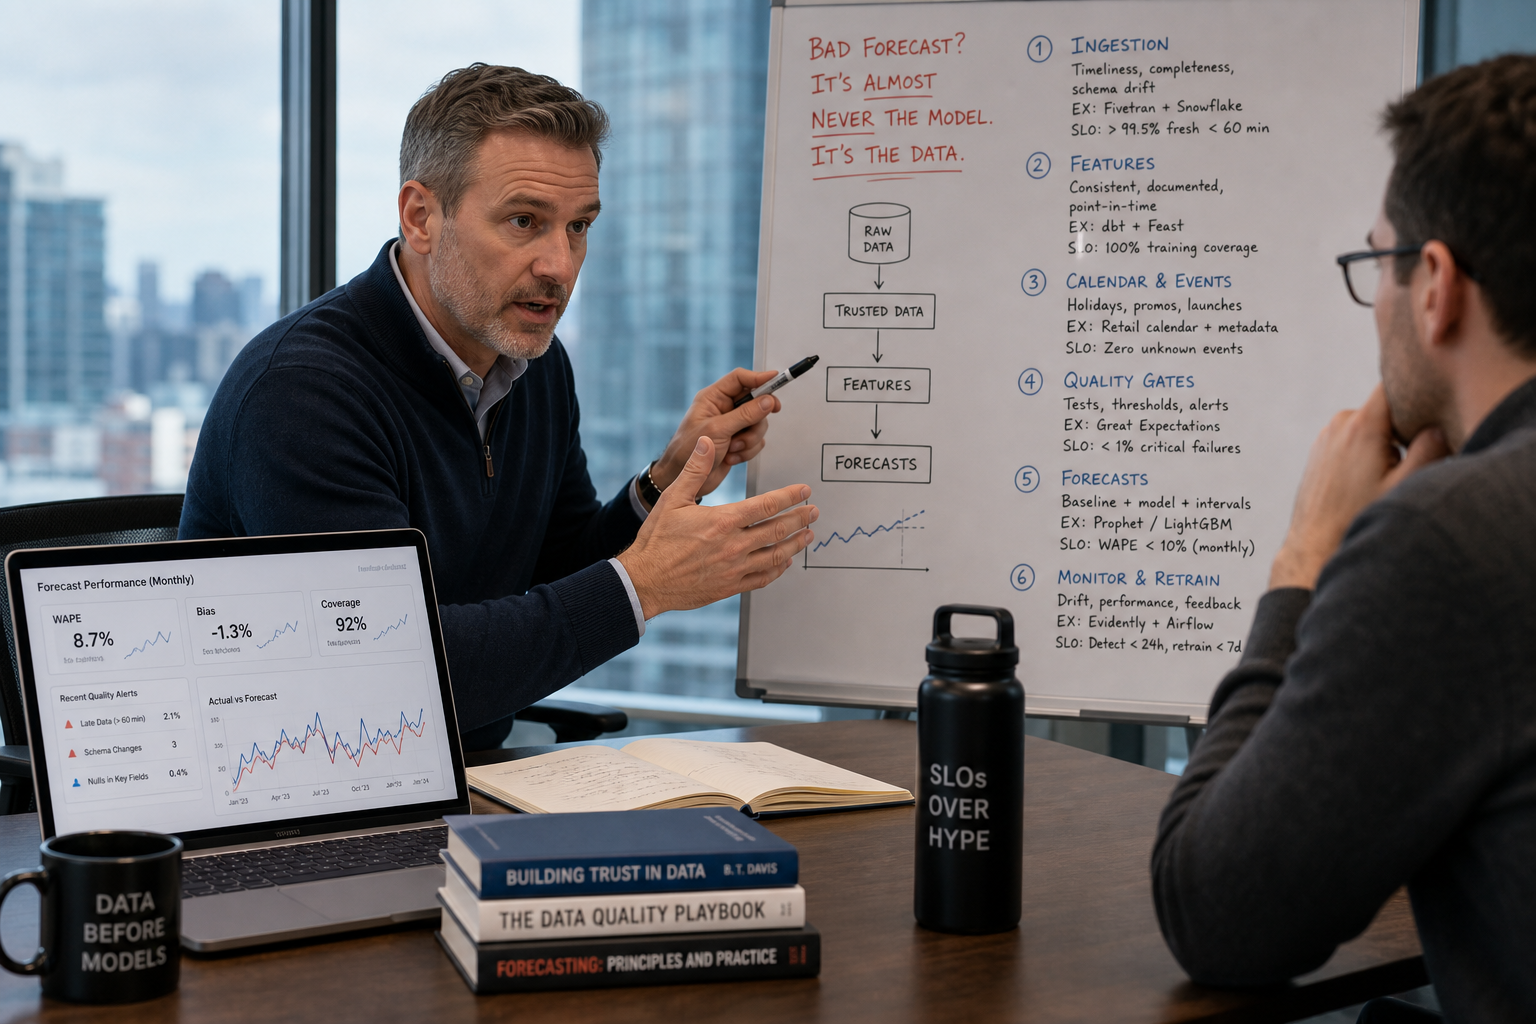
Mistake 3 — Dataset ops and labeling shortcuts (you trained the wrong problem)
Typical symptoms: model performs in held-out lab split but fails on new batches. Causes: label drift, train/test leakage, class imbalance, or training on cleaned images that never appear in production.
How to fix
- Build dataset pipelines with Roboflow or a comparable dataset ops tool. Version images, augment with real production transforms (motion blur, compression levels, flicker), and track label provenance.
- Treat annotation quality as an SLA. 1–2% labeling noise can be tolerated; 5–10% and your defect-level thresholds become meaningless. Use consensus labeling on edge cases and track annotator disagreement.
- Use synthetic augmentation sparingly and always validate synthetic-augmented models on a fresh production capture set.
Metric to measure: track per-class precision/recall on a rolling 7-day production holdout. If recall drops >7% after deployment, route those samples back into Roboflow for re-annotation and retraining.
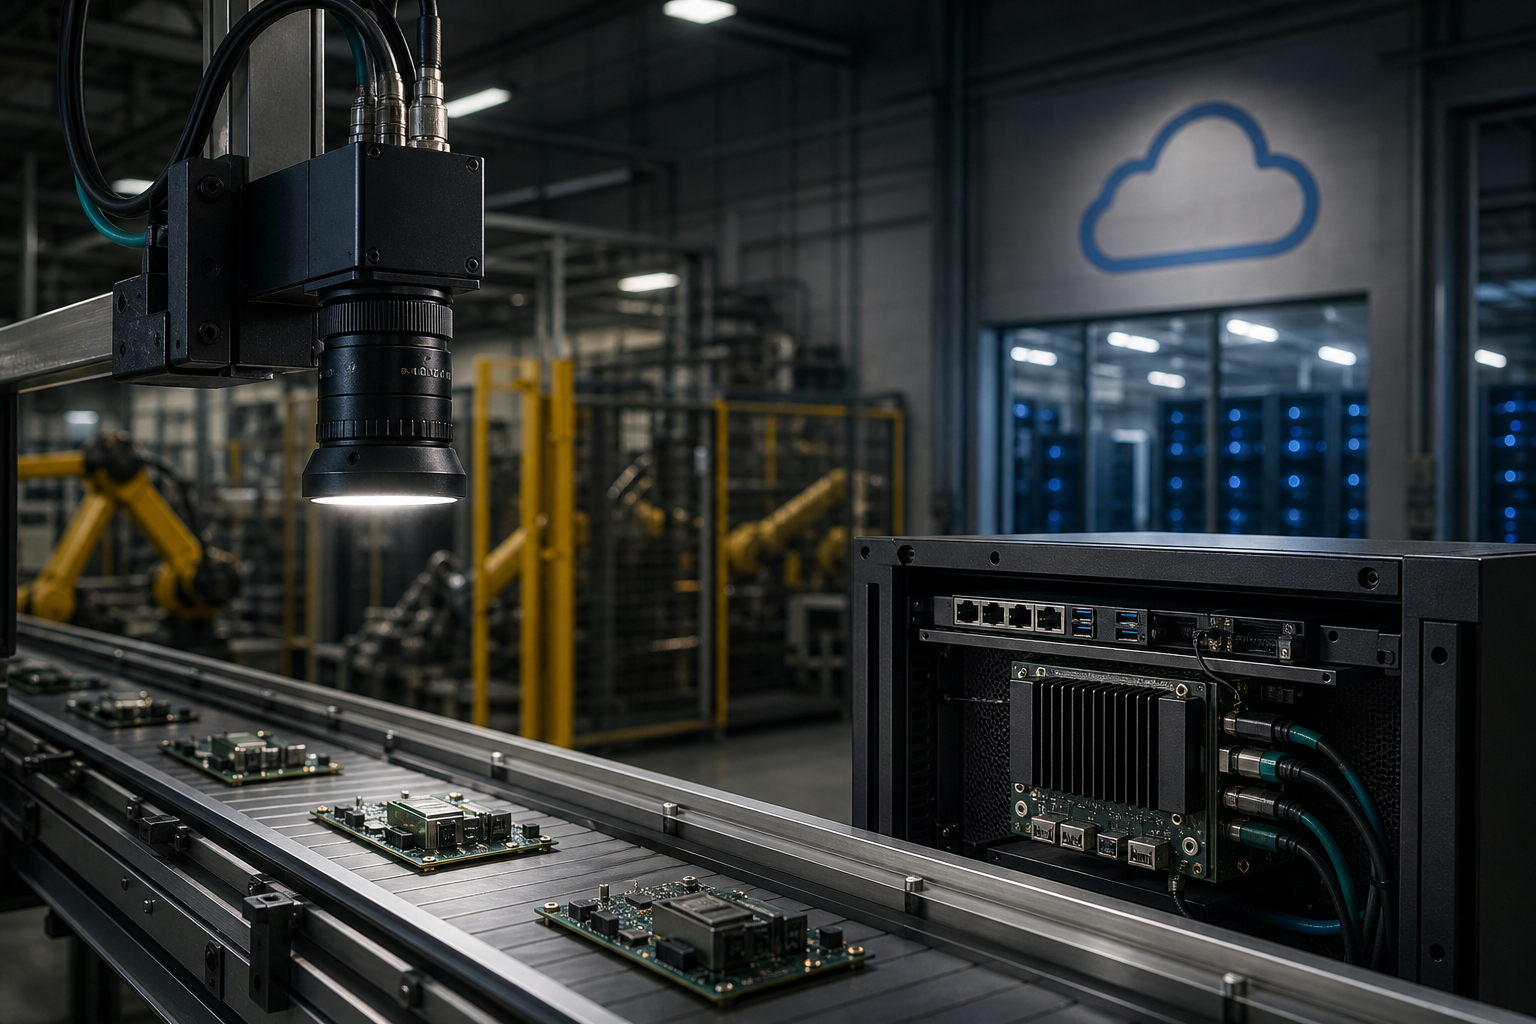
Mistake 4 — Wrong inference architecture: cloud-only assumptions on the factory floor
Many teams assume the cloud will host inference. Reality: bandwidth limits, unpredictable latencies, and security policies often require edge or hybrid inference.
Deploy options and recommendations
- Edge-first: NVIDIA Jetson family for on-device inference when latency and bandwidth are tight. Use TensorRT optimized models and float16/int8 quantization pipelines.
- Hybrid: AWS Panorama is good when you want local inference management with cloud orchestration — it handles model deployment across edge devices and ties into AWS ML services.
- Orchestration: for larger fleets, use Seldon or SageMaker Edge Manager and MLflow for version control.
Architecture snippet (example edge-to-cloud pipeline):
[Cognex Camera] --> [Edge Preproc: exposure fix, denoise] --> [NVIDIA Jetson (TensorRT)] --> [Local Results Queue + MQTT to PLC]
                                                 |--> [AWS Panorama / Greengrass] --> [Cloud: Databricks / Snowflake] --> [MLflow / Arize / Dashboard]

Feedback loop: flagged images -> Roboflow (annotations) -> Retrain -> CI/CD -> Edge redeploy
Latencies matter: if your conveyor requires <200ms decision time, cloud roundtrip is usually non-starter. Quantify the allowable inference latency before choosing Jetson vs cloud.
Mistake 5 — No production MLOps, monitoring, or business-metric integration
You can get a good precision/recall in test, ship a model, and then ignore it until the line manager complains. That’s how defects get missed for months.
What to instrument
- Model telemetry: prediction distributions, confidence histograms, and per-class confusion matrices. Use Arize or an in-house pipeline to capture feature-drift and concept-drift alerts.
- Image sampling: route 0.1–1% of frames (stratified) to cloud storage (Snowflake/Databricks) for human review and re-annotation.
- Business signal tie-in: connect detections to PLC events, rework costs, and downtime logs. Metrics that matter are dollars saved, hours returned, defects avoided, and downtime cut.
Example: our PPE vision deployment triggered an operations dashboard: a daily alert reduced unsafe behavior incidents by 75% after tuning camera placement and retraining on the sampled edge images. That reduction came only after we instrumented the feedback loop and enforced a 48-hour re-label-and-retrain SLA.
Pilot vs Production: decision table
| Decision area | Pilot (typical shortcut) | Production (what you should do) |
|---|---|---|
| Camera | High-res lab camera | Buy/validate production camera (Cognex or equivalent) |
| Lighting | Ambient lab lights | Fixed lighting or strobes + lux logging |
| Compute | Cloud GPU prototype | Edge (NVIDIA Jetson) or AWS Panorama hybrid |
| Data ops | Static dataset | Roboflow pipelines + versioned annotations |
| Monitoring | Manual checks | Automated telemetry (Arize), sample routing, retrain SLA |
Putting it together: an engineering checklist
- Buy a production camera and capture real-line images for 48–72 hours before training.
- Lock camera exposure and white balance; add filters or strobes where needed.
- Build dataset ops in Roboflow, version every training run, and hold a rolling production holdout.
- Select inference target up-front: Jetson for <200ms latency, AWS Panorama for managed hybrid deployments.
- Ship monitoring from day one: Arize + MLflow, sample images back to Roboflow, and define a retrain SLA.
Conclusion & CTA
If your model works in tests but fails on the line, you started at the wrong end. Start with cameras, lighting, compute, and an operational feedback loop before you tune model hyperparameters.
Need help with computer vision defect detection? Book a free strategy call with Niche.dev.
Suggested Internal Links
- Enterprise AI Strategy: How to Successfully Integrate AI Into Your Business Workflow — synthetic://cmouha5dg0000mh0fg9jxfbt2/indexed-content/niche-dev/enterprise-ai-strategy.md
- The Role of MLOps in Scalable AI Systems — synthetic://cmouha5dg0000mh0fg9jxfbt2/indexed-content/niche-dev/mlops-enterprise.md
- AI Automation vs RPA: What’s the Difference? — synthetic://cmouha5dg0000mh0fg9jxfbt2/indexed-content/niche-dev/ai-vs-rpa.md